|
Getting your Trinity Audio player ready...
|

When writing an article, it is important to have something that will catch the reader’s attention and make them want to read it in the first place. Sometimes, the title itself will be the attention grabber. However, for the most part, inserting a picture will be what takes an article to new heights.
If one is writing an article, there are two options for pictures. The first option is taking pictures of the scene or having a photographer do so. If neither of these choices is available, then one would move to the second option and look to the internet to find a picture that properly captures the essence of the article.
Finding the Picture
To look for the proper photo to insert into an article, first find a website that contains pictures that are not copywritten. There are a number of websites that can be used such as Creative Commons, Compfight, Flickr, Wikimedia Commons, and many more. The News School and Guardian Liberty Voice writers prefer to use Flickr.com.
When looking for an image to insert into an article, Google, Bing, Yahoo, and other web search engines are not the places to go because almost all of the pictures are protected by the copyrights of the person who took the photo.
If it is absolutely necessary to use Google or another web engine like it, search what you are looking for followed by the term “Creative Commons.” The Creative Commons License is what The News School and Guardian Liberty Voice writers use.
Flickr.com will have a number of pictures that will appear readily available for insertion to a post. However, this is not exactly the case. After searching for the desired picture, it is important to look in the top left-hand corner of the screen. There is where one will find a drop-down button that reads “Any License.”
It should be changed to “All Creative Commons” by clicking on the drop down box and choosing that option. The photo options will change to all the pictures that are available for sharing and/or commercial use.
One should also keep in mind that all pictures chosen should be what is considered an “eyegasm.” Pictures like this are often bright or colorful and will catch the reader’s attention at first glance.
Downloading the Photo
After the picture has been chosen, one must download it to the computer. To do this, the picture must be clicked on. Information about who took the picture, and often what type of camera, will appear under the photo.
To the right of the picture, a star and two arrows will appear. To download the picture, the arrow pointing downward must be clicked. Once this is done, a drop down box will appear with different download sizes.
All pictures must be 650 x 500 or larger so that they fit properly into the article. If none of the options for download size fit these criteria, another one must be chosen.
If the picture has been taken by the author of the article, they need to email the picture to themselves and download the attachment from there.
Inserting the Top Image Into the Article
Once the proper image size has been downloaded, it needs to be inserted into the article. On the top left side of an article, there is an “Add Media” button. Once clicked, a number of photos will appear.
This is because the Media Library is open. The “Upload Files” button needs to be clicked to begin inserting the downloaded picture. Once done, there will be a “Select files” option.
All files from the computer should pop up once the “Select files” option is chosen. From there, one should choose their picture.
After the photo is chosen, on the right-hand side, there will be rows of both empty and filled spaces. The only ones that should be focused on are the “Title,” “Alt Text,” and alignment boxes.
For the title, the title of the article should be inserted. For the alt text, the keyword for the article should be inserted. The alignment should be set to “center.”
After this, the blue “insert into post” button can be clicked to place the picture into the article.
Inserting Featured Image Into the Article
To insert the featured image into the article, one must scroll down to the bottom of the page and click “Set featured image.” From there, the same steps are to be followed as they are in setting a top image.
Photo Credits
It is important to give the proper credit to whoever has taken the picture or video. This is so that their copyrights are not being violated.
When inserting a picture, there are two options for photo attribution when the picture has been found on the internet.
The first option is Public Domain, and the second is Creative Commons.
The News School and Guardian Liberty Voice writers use Creative Commons.
The accreditation to the photographer should look as such if the top and featured images are the same and from Flickr:
Featured and Top Image Courtesy of John Doe, Flickr- Creative Commons License
The accreditation to the photographer should look as such if the top and featured images are different and from Flickr:
Top Image Courtesy of John Doe, Flickr- Creative Commons License
Featured Image Courtesy of Jane Doe, Flickr- Creative Commons License
Note: The correct spelling, spacing, and capitalization of the photographer’s name should be just as seen on the Flickr account.
The accreditation to the photographer should look as such if the top and featured images are from the same person and they took pictures at the scene:
Featured and Top Image Courtesy of John Doe – Used With Permission
or
Top Image Courtesy of John Doe – Used With Permission
Featured Image Courtesy of Jane Doe – Used With Permission
The accreditation to the photographer should look as such if the author of the photographer is the same person:
Featured and Top Image Courtesy of [Insert Author’s Name]
Written by Trinity Oglesby
Edited by Barbara Sobel
Sources:
Harvard Law School Library: WHAT DO PUBLIC DOMAIN & CREATIVE COMMONS MEAN?
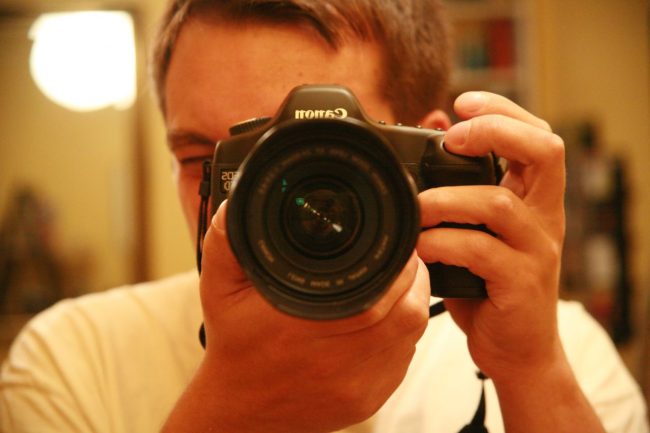
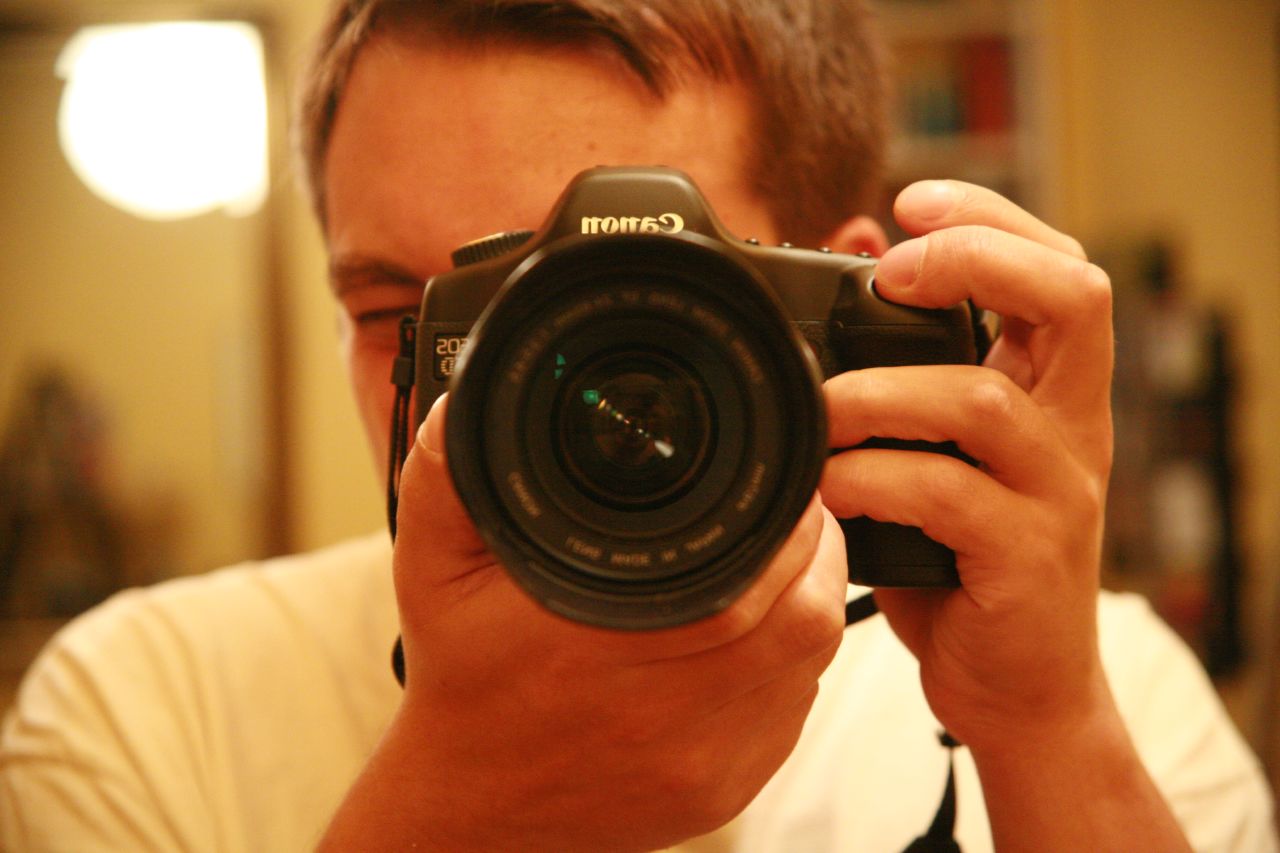
Featured and Top Image Courtesy of Bruno Girin, Flickr- Creative Commons License


